HOW I TAKE SOLAR IMAGES

Share

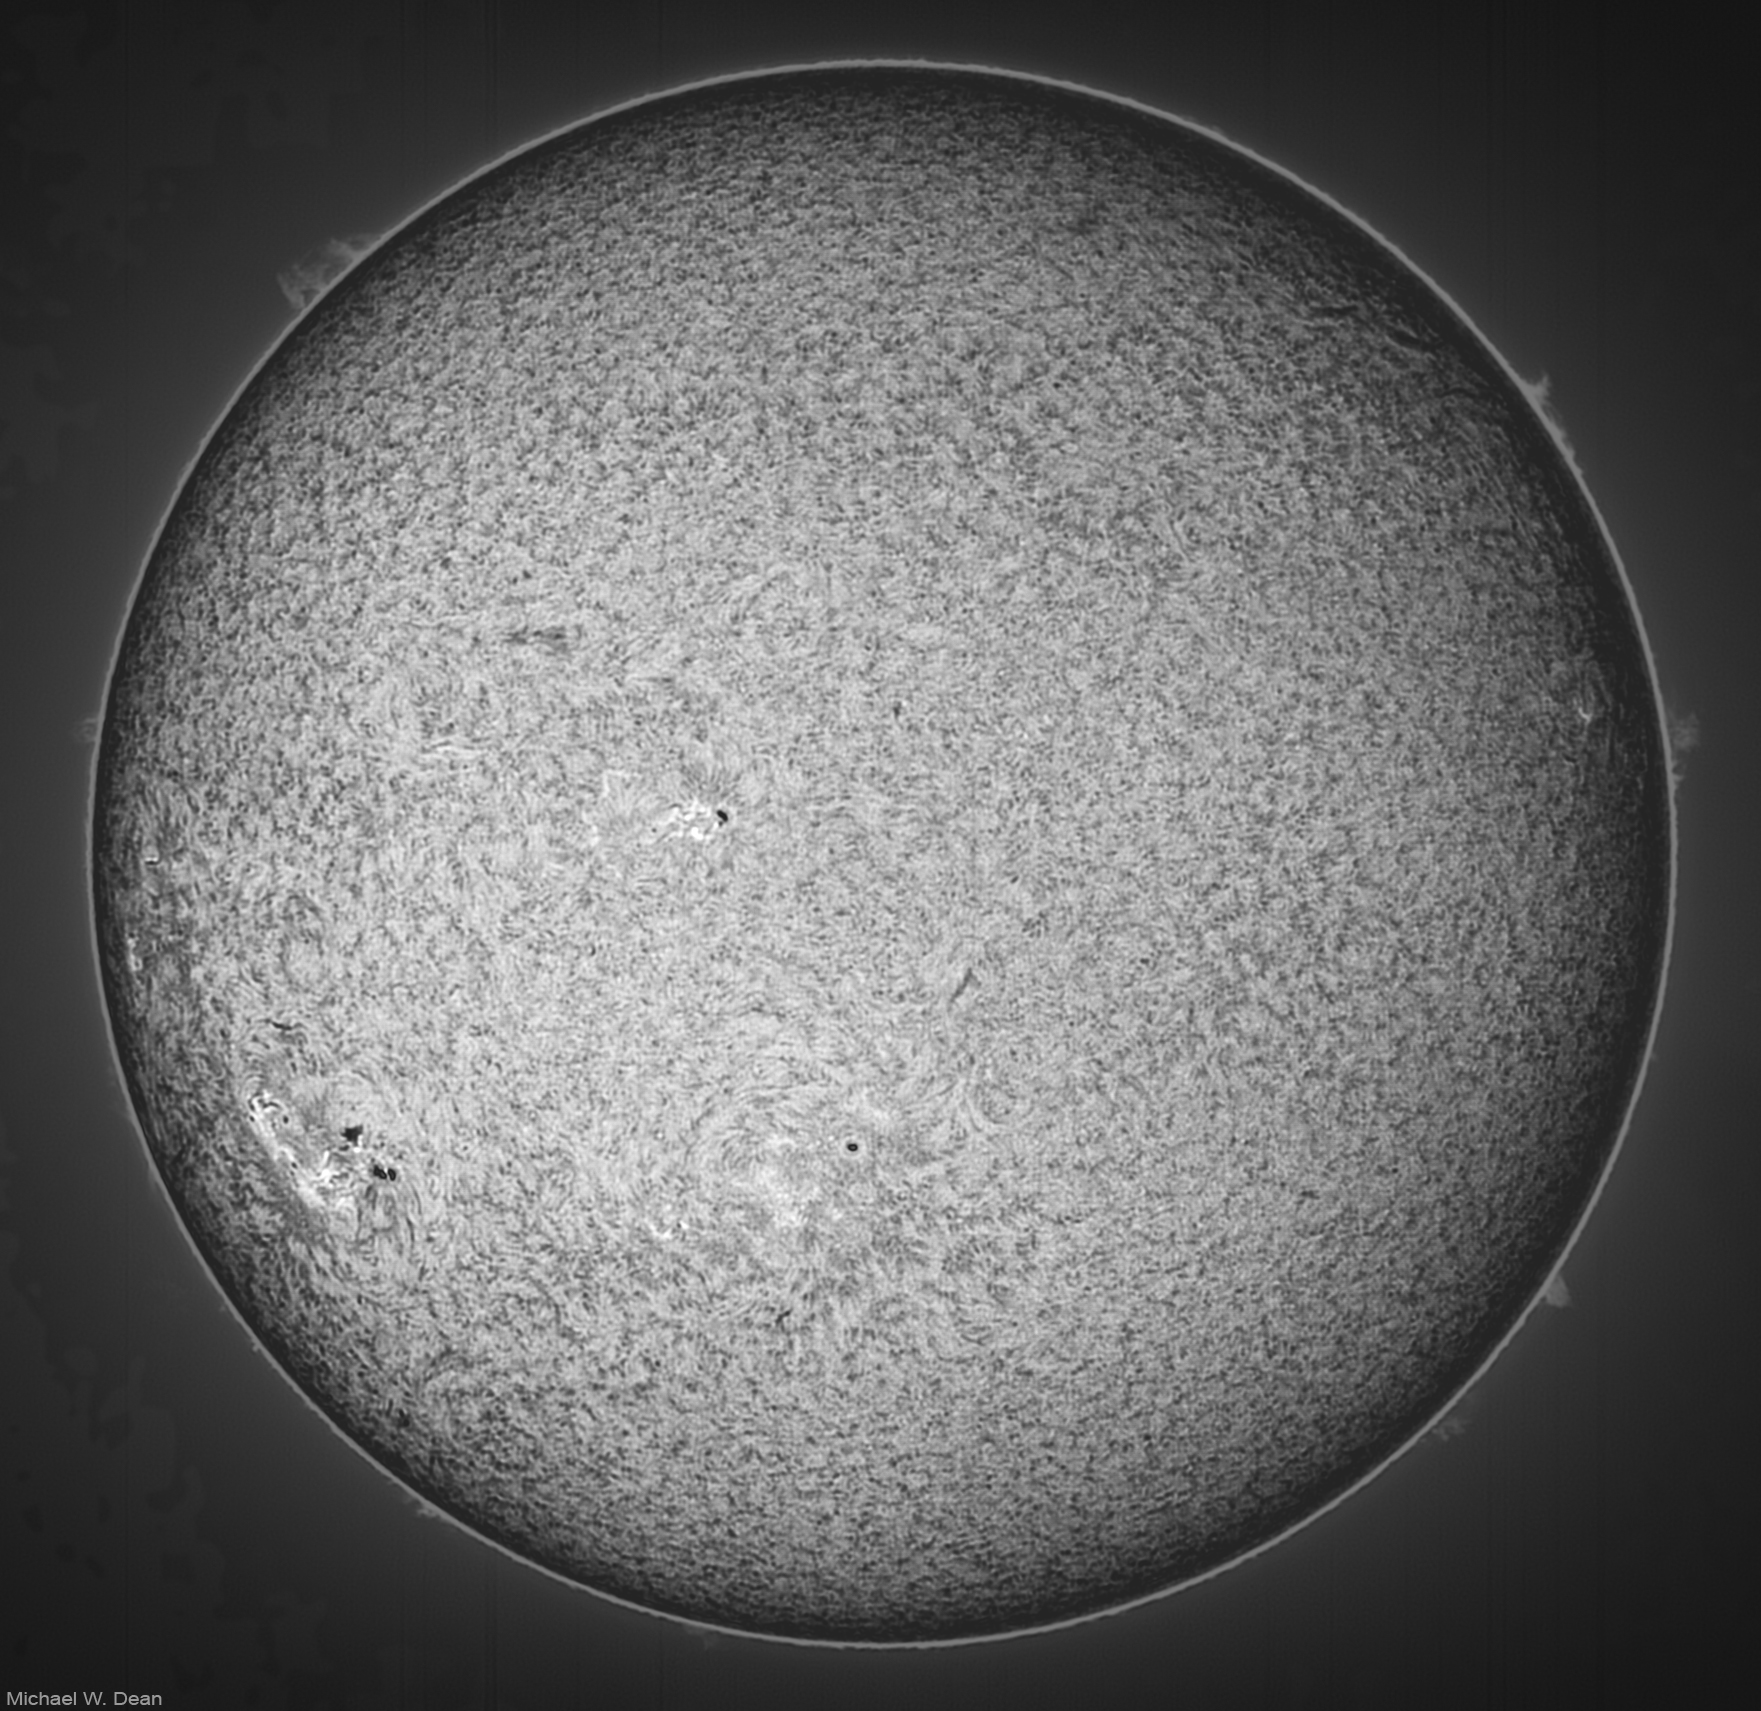
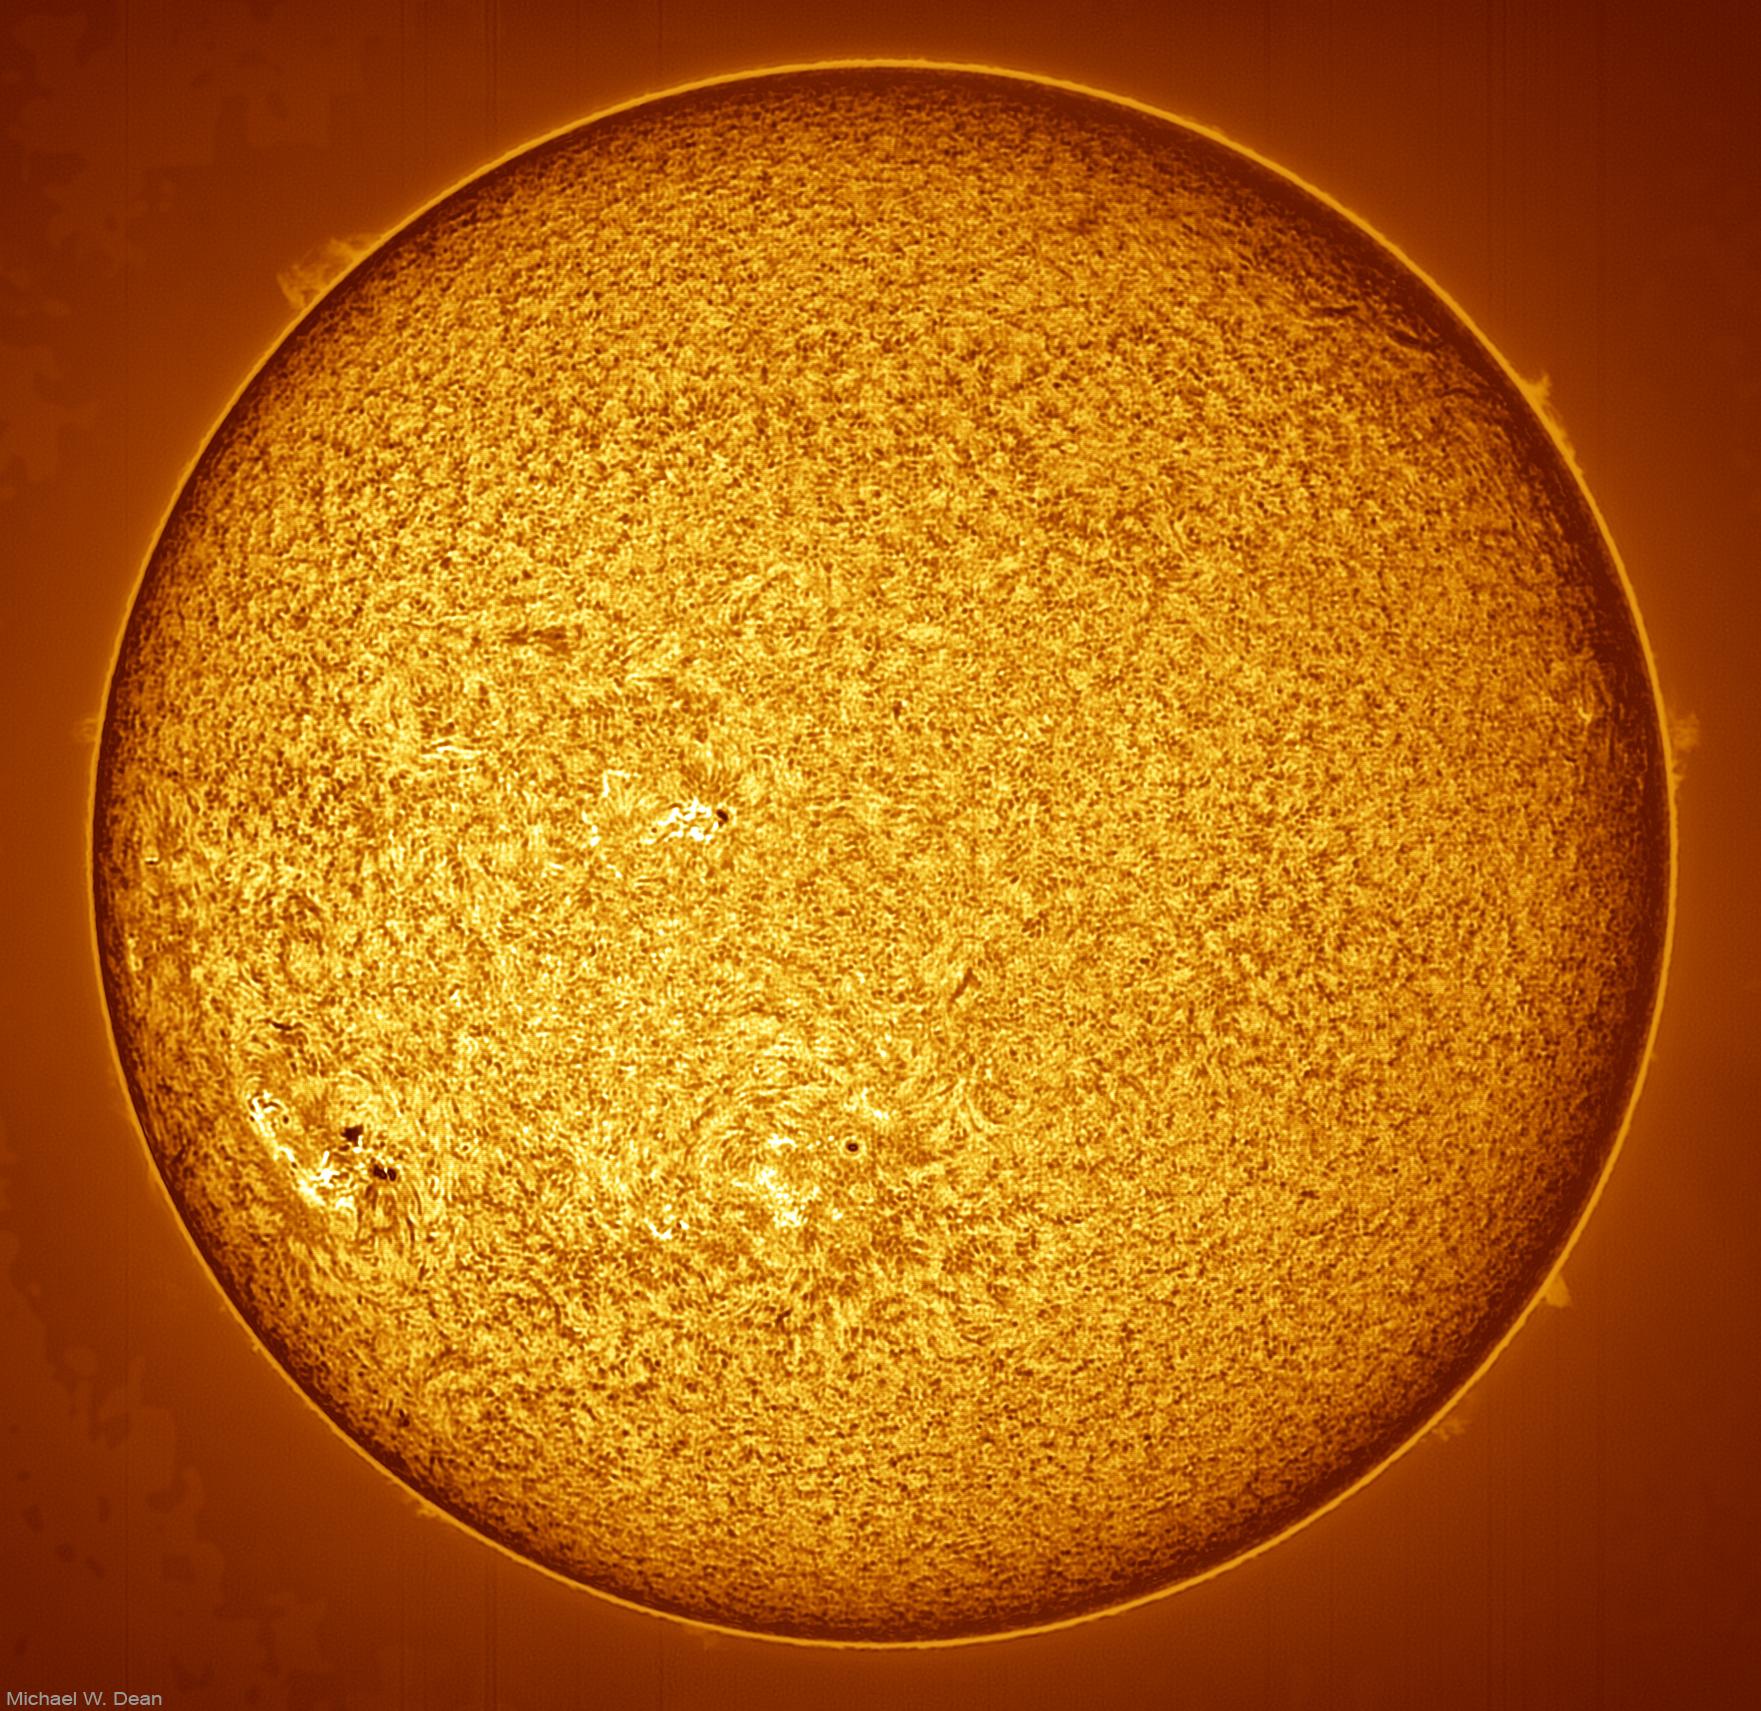
Photo of the Sun’s chromosphere in Ha (Hydrogen-Alpha). It’s the best 100 frames stacked from 2000 frames of video (“Lucky Imaging”), each frame of video 5 milliseconds. I’m still learning and new to this, have only shot 5 photos of the Sun.

Though a lot of the skills from night astro transfer over. I’m using good entry level solar gear. This level of detail cannot be done without dedicated solar etalon for Ha bandpass and energy rejection filter. Solar scopes by Lunt have both. Mylar film “solar filters” for regular cams do NOT provide this detail. And I wouldn’t do this with a regular DSLR/ Mirrorless.

Need a dedicated mono high frame rate video cam made for astro. Hydrogen-Alpha filters for night astro have nothing to do with this and will not work. If I were to start all this over, I’d actually get into solar instead of nighttime deep space photography first. I’d recommend that even more for someone who lives in a city with light pollution at night. (I live rural / dark though) I like solar because it takes about 2 min to shoot a pic like this (maybe an hour or two with setting up and tearing down the gear on the porch), whereas my night photos take all night, or several nights, so I need better weather which is rare here. It’s been 6 weeks since I shot astro at night, and in that time I’ve shot the Sun 4 different days.

And it’s THE SUN! I love the Sun. It makes life possible, and it’s been my friend since I was a small child. Galaxies and nebula are nifty, but almost an abstract concept, whereas THE SUN!… Gear: Player One Uranus-M camera on Lunt 40 mm solar scope with B1200 blocking filter, on Sky-Watcher SolarQuest Mount. (AltAz mount, doesn’t need polar aligning unlike my deep space Equatorial mount) (Though I just got a better solar/lunar camera, Player One Neptune-M camera, that I’ll be using from now on. Is also planetary cam, not dedicated solar cam, but will work better for Solar and better for Lunar. I’ll probably get to try that today.

My solar gear is portable too, compared to my night deep space gear. Software: Capture SharpCap Pro. Stacking: Autostakkert! Processing to bring out details from stacked Tiff: imPPG. Coloring and bring out more detail: SolarToolbox inside PixInsight. Cropping, contrast, and adding signature: Photoshop. Shot with ROI to give a little room for drift and for Sun’s proms. Prominence length I checked by changing Gain for a moment, they can get much longer) (Though I just got a better camera, Player One Neptune-M camera, that I’ll be using from now on. Is plaentary cam, not dedicated solar cam.

makes dedicated solar cams too, but I got these because I can also use for lunar Lucky Imaging too. AND….pixel size of cam should match for focal length you’re using, can ask Grok to do the math, I’m at 400 mm here, so if I use a 3x Barlow and go to 1200 mm I should use different camera, or shoot in Bin 2, not Bin 1 like this) The Sun is almost always shot in monochromatic and then sometimes false colored orange (since the Sun is white, or all colors, color cam isn’t as sensitive and wastes pixels.) I always include the mono original on my AstroBin post though. If you already have a refractor scope and want to DIY this to put together your own solar scope….you can get a Quark from DayStar, add an energy blocking filter AND an IR/UV filter and do it yourself. Still should be guided, but I believe solar is possible unguided for full image like this, I’ve never done it, and it’s not for closeups of Proms. (Do not try this with a large reflector like my big Quattro 250mm aperture scope I use for nebulae and galaxies at night, you’ll burn up your camera. lol)

I am adding a better focuser,  Featherlight from Starlight Instruments.

Also a second etalon to double stack, I ordered it today, that will give even more detail. Double stacking gives an even narrower slice of the Ha wavelength, to give more detail. Another Sun shot I did (less great processing, I’m still learning, but the Sun was maybe more interesting that day…it changes hour to hour….The mono one is the pre-colored image. The second image is colored. It’s 2 pictures of the Sun I took 6 days apart to show how much the Sun changes in less than a week.
Programming suggestion; Be able to hide every feature not in use

Share

(posted on the SharpCap website, Jan 9, 2026)

Feature Request: Customizable Interface Modes

I think this should be a feature for every program.

If I only use 1/10th of 1 percent of the features in a program, I’d love to be able to hide all the ones I don’t use.

Some would say that’s a bad idea because you’d never learn to do more things if you don’t stumble on them by having them enabled. But you could have it so you could have 3 settings:
1. All features fully on
2. Just the features I want.
3. Just the ones I want, and the ones I don’t want grayed out so I can see what’s there.

…with a way to toggle between the three states.
Some would keep it on State 2 for use, but toggle to State 3 when not pressed for time to learn more about the program.

When in State 2, just the features I want, the hidden ones would vanish and the ones I want would re-flow. So, for instance, if I click on Tools, I’d only see Histogram, Focus Assistant, and Seeing Monitor, since those are the only ones I have turned on.

Scripting and Sequencer wouldn’t even show since I have everything under those turned off.

Overall this would be a great feature since shooting at night with night vision colors enabled, or shooting Solar during the day, both make it hard to see the screen well.

If there were only the few features we want at a given time, we wouldn’t have to fish through all of them to find them. Especially when shooting time is a valuable commodity for people who live where it’s cloudy a lot.

Maybe we could have different profiles for this. Like I could set up one for Solar, and a different one with different options showing for Deep Space.

I’ve never seen a program do this, and I imagine if you did it people might follow with other programs.

Would be highly personalized and make any program work exactly as it would if each user programmed it only to solve the issues they have, not a one-size-fits-all solution.

Maybe call this feature “Selfish Interface UX”
;-]
Michael W. Dean

Seeing a computer in the Sun for solar astrophotography (computer screen headset)

Share

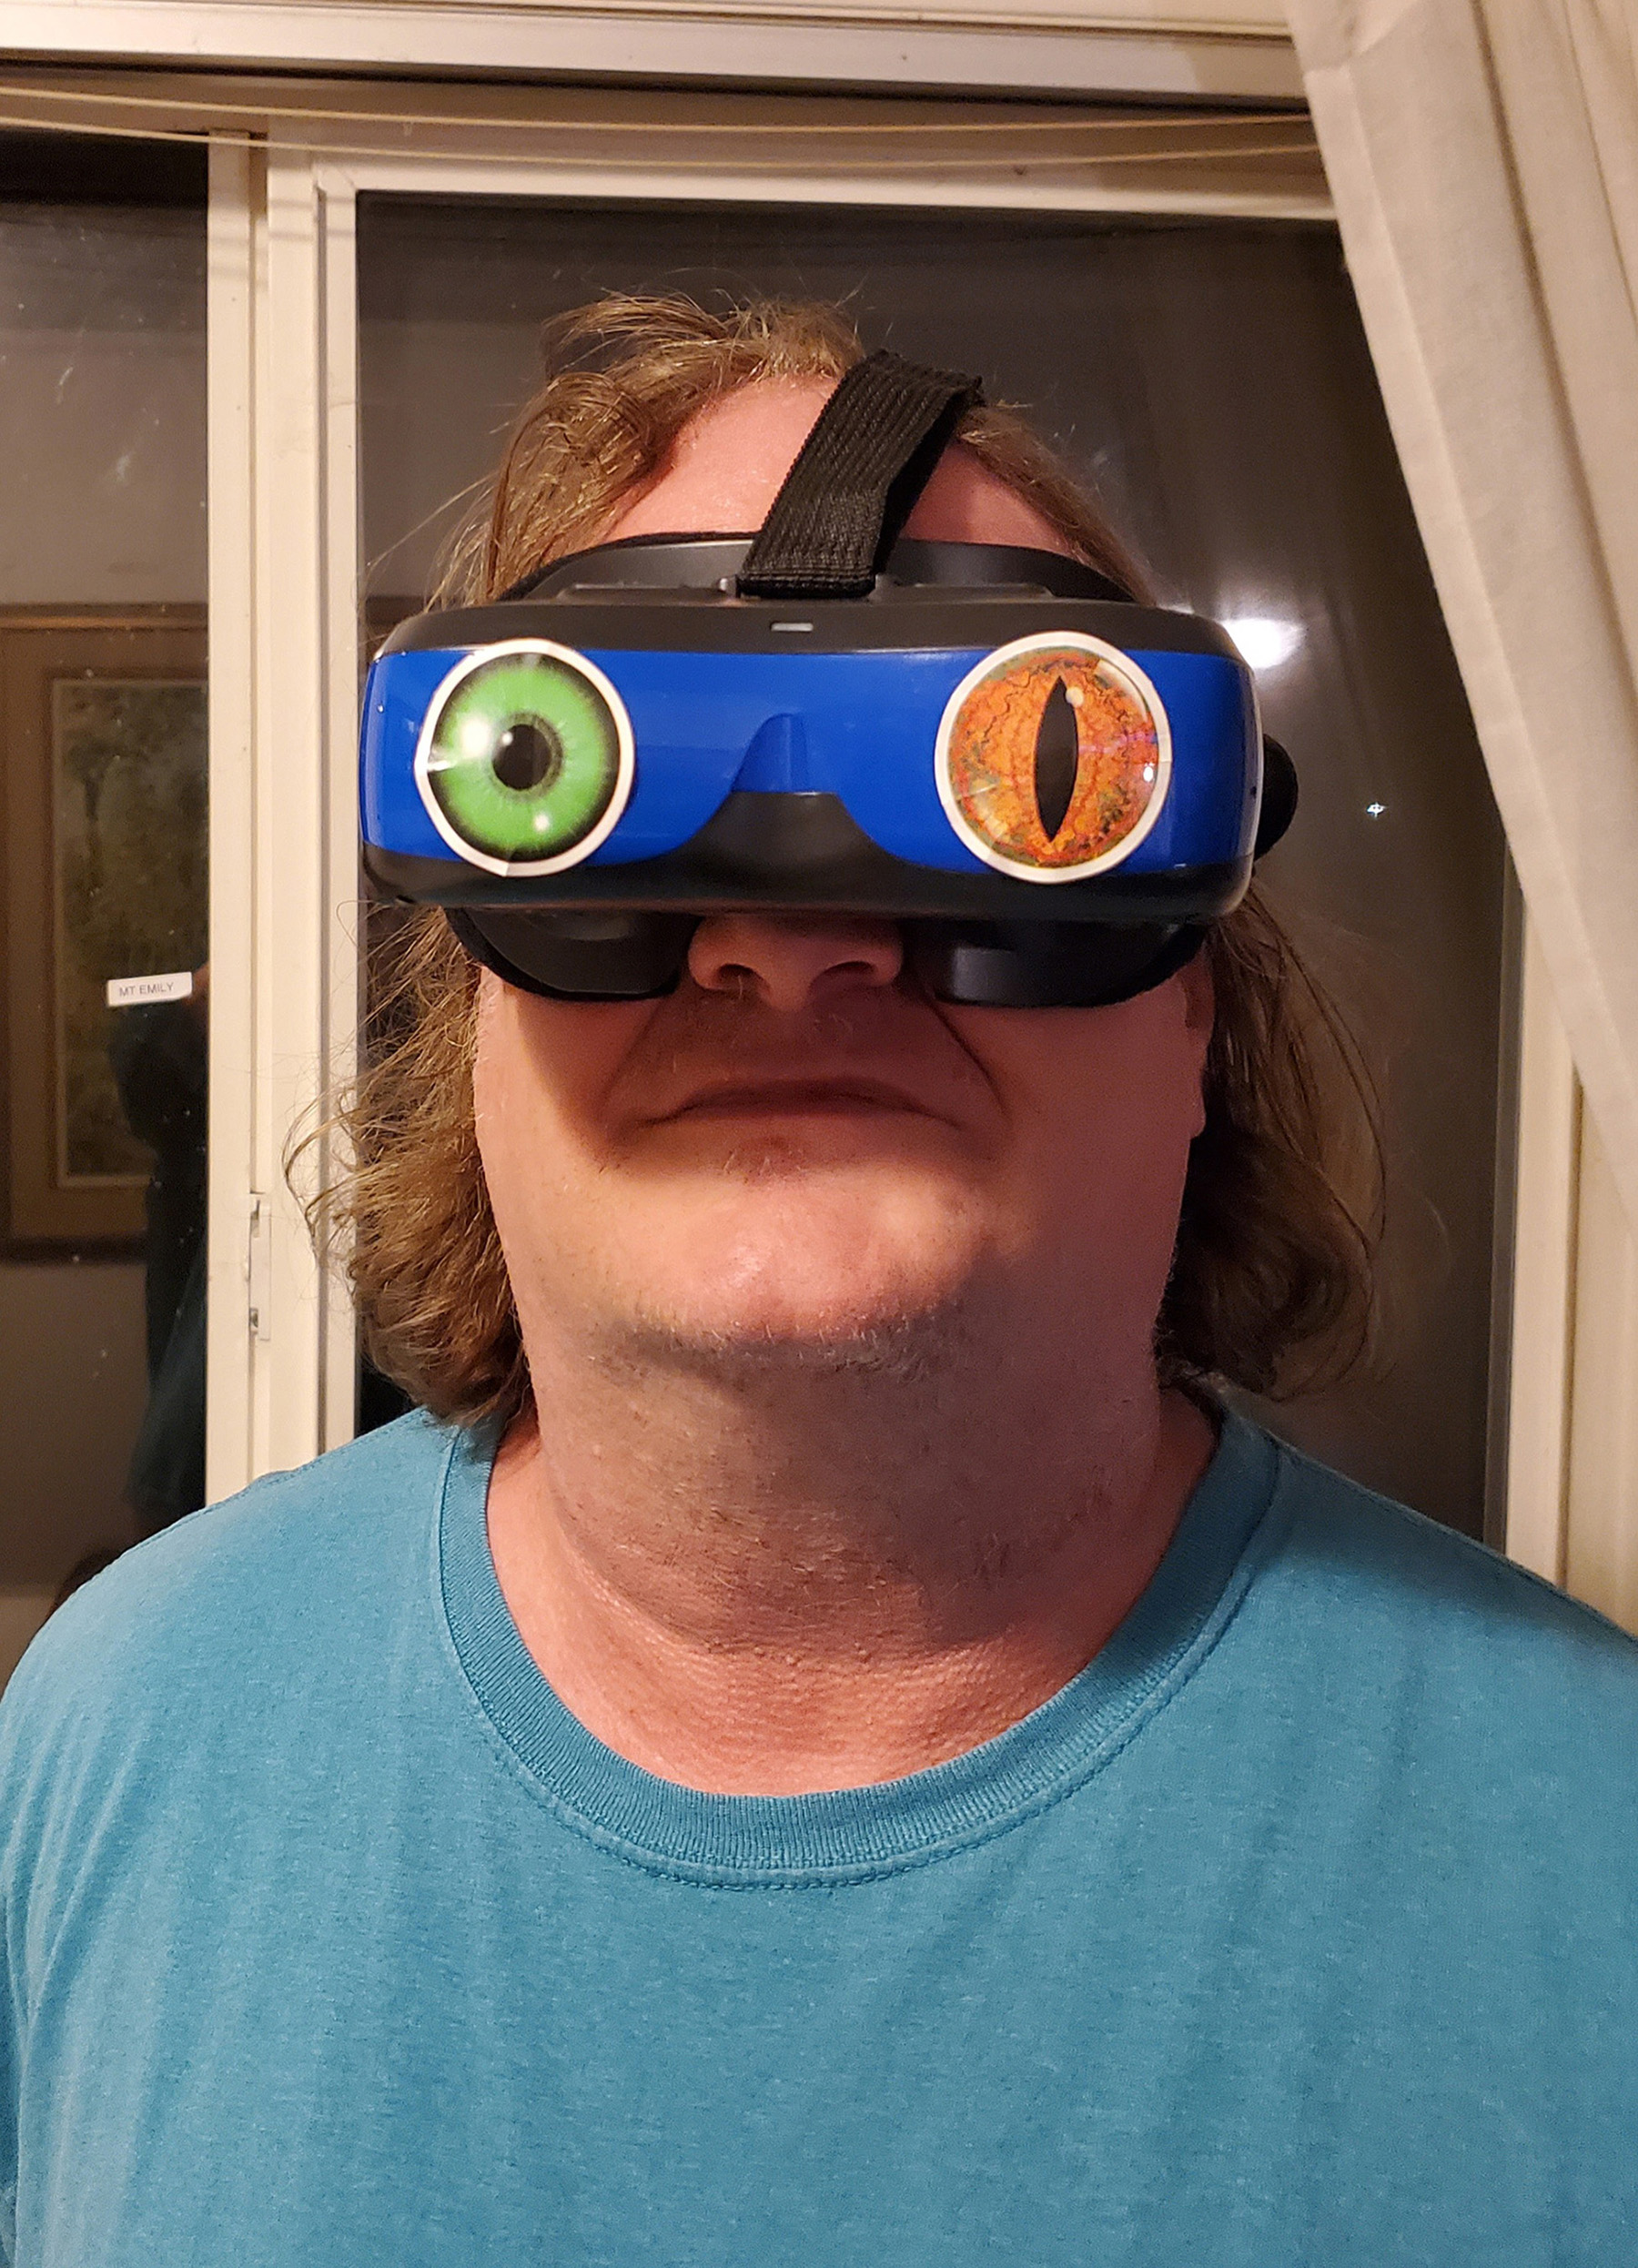
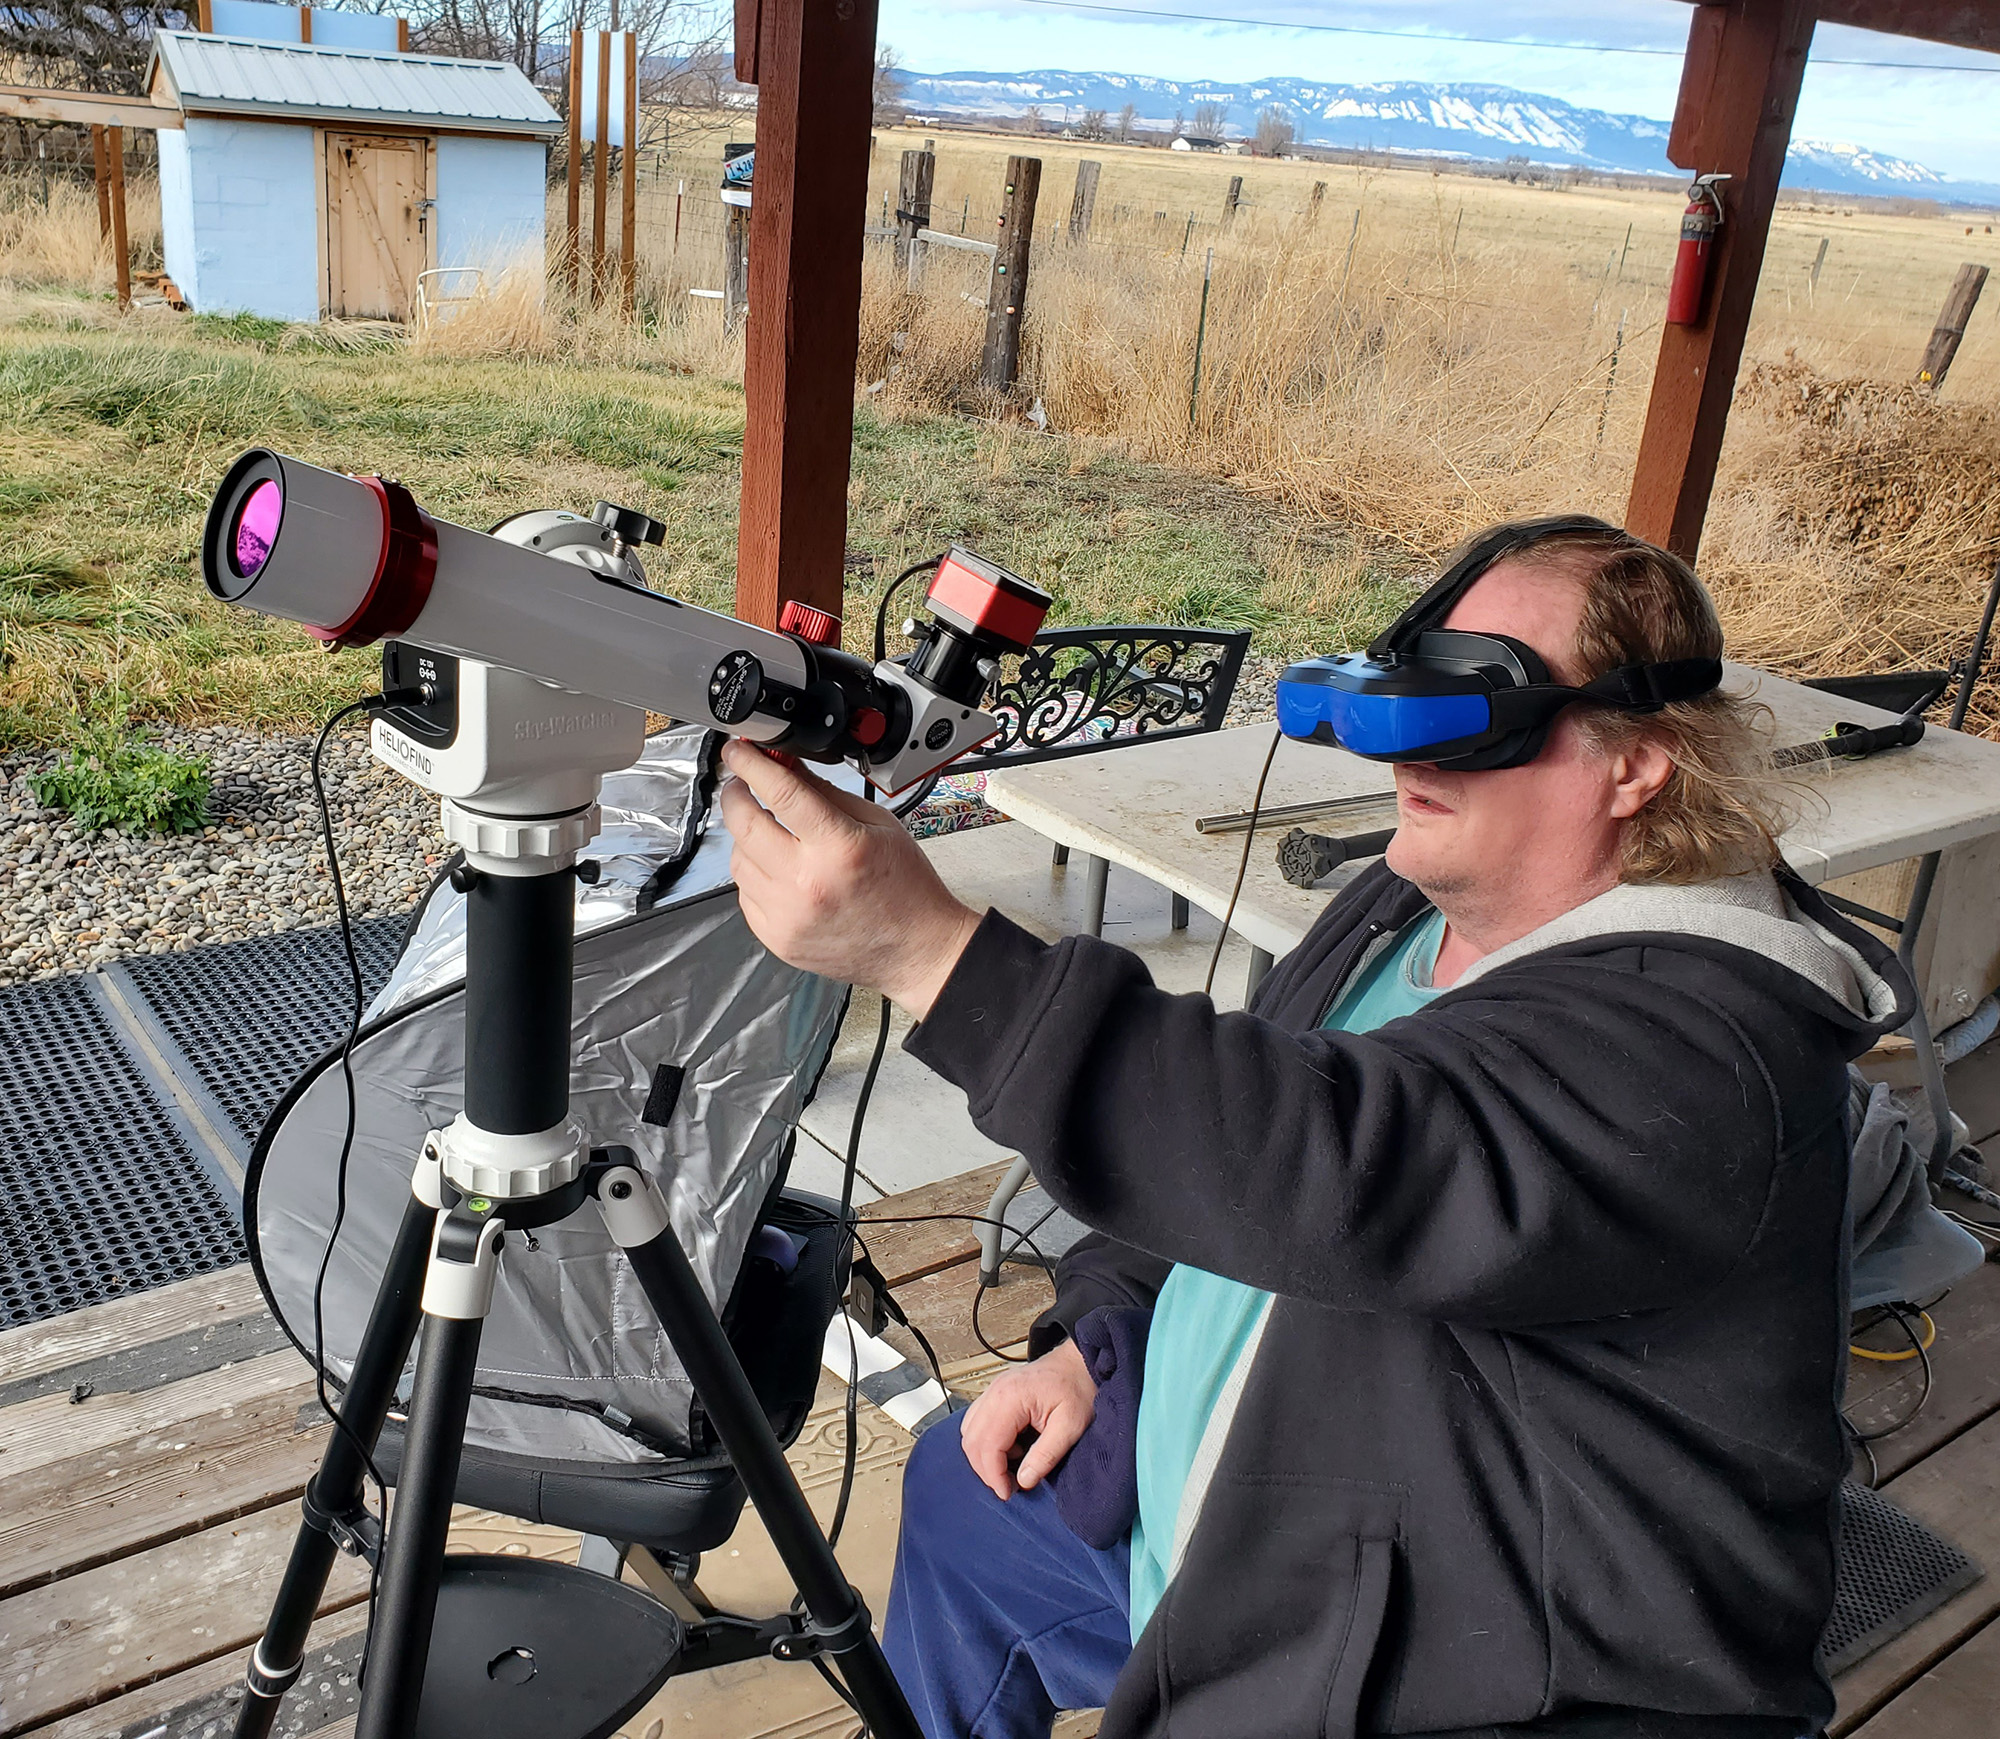
I used these computer screen googles to mirror my laptop monitor (put them on 2D not 3D)

They didn’t work on my older laptop but they were plug and play (mirroring screen) with this 14 inch dell laptop that cost me 260 bucks renewed with warranty, and it was fast enough to capture solar video for this.

You need a computer that can support DisplayPort or Alt Mode. And you need a USB that supports that too. USB C both ends (computer needs that too, not sure if an adapter would work but it might?) that can support DisplayPort or Alt Mode (search both in listing). Or just get this USB cable. I did. I used these (any length on this page should have it, check description for DisplayPort to make sure it hasn’t changed)

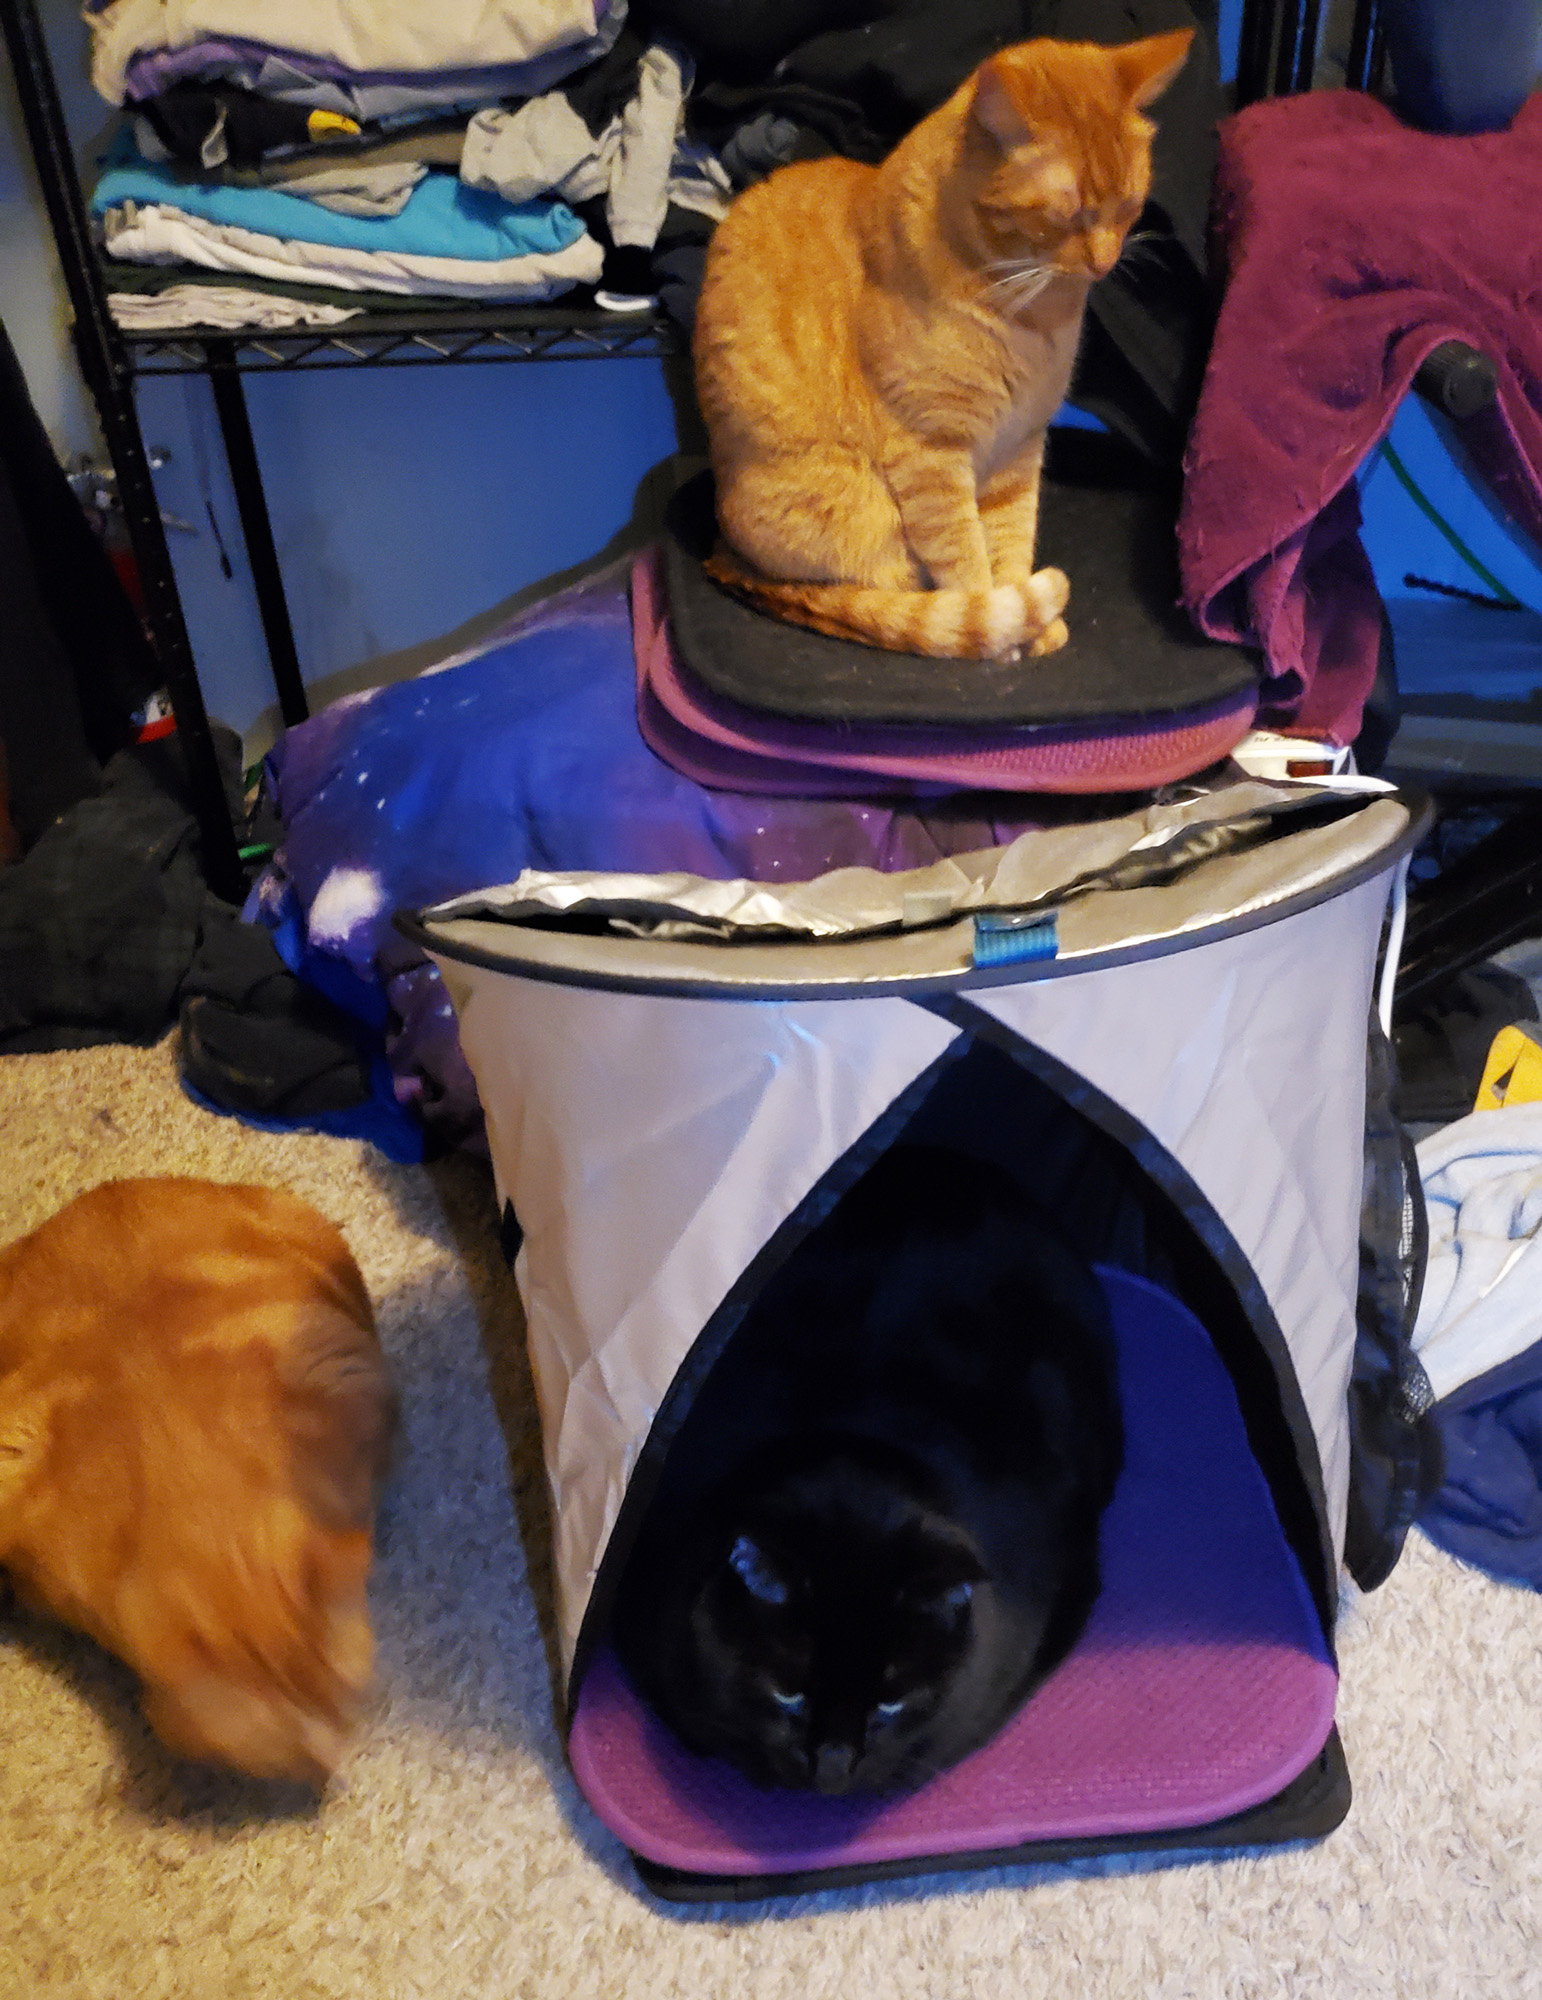
I used this little 30 dollar laptop sunscreen to hold the laptop, for when I had to peek out at it. (Cats love it too!, when not in use for laptop)

I used Player One Neptune-M camera on Lunt 40 mm solar scope with BF1200. on  Sky-Watcher SolarQuest Mount which JUST WORKS!

Here’s what I shot on my 3rd day ever of solar shooting.


This headset has no camera, so I recommend not putting it on until you’re seated, and stay seated until you’re done. At least don’t try to walk wearing it.

If you want to have fun with the goggles, add your pick of these inexpressive creature eye stickers to them.

Solar Ruler improved – Photoshop download included

Share

DOWNLOAD ZIPPED PHOTOSHOP FILE: (updated Dec 3, 2025) 

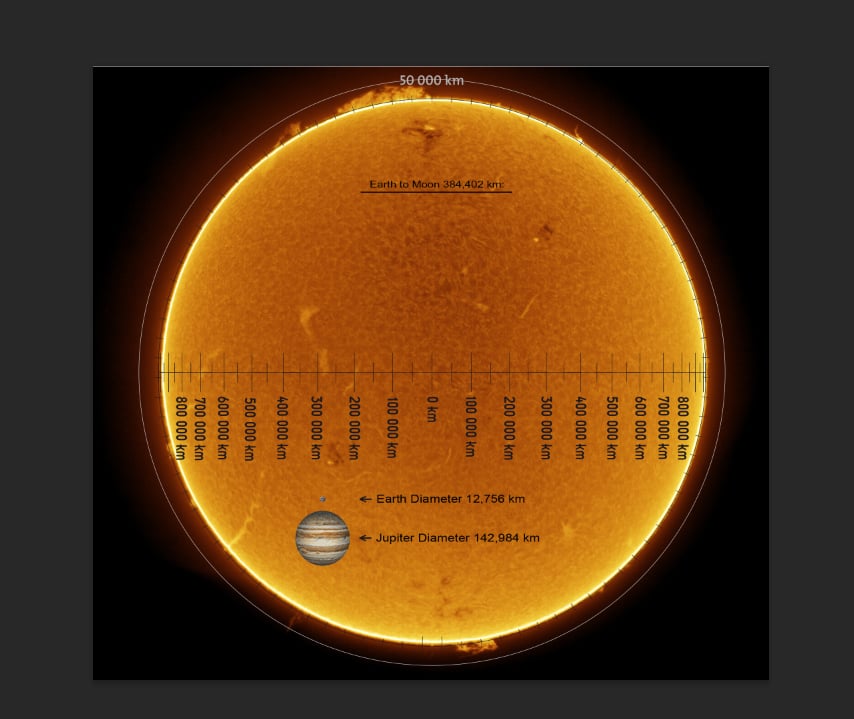
I made an updated version of the old Guy Buhry Solar Ruler design.

I put the the concentric lines on Photoshop layers, so you can turn off the measuring lines you don’t need.
I also translated from French to English.

I never liked that the concentric rings were all there even if using a shot with short proms. It made it look like the proms were underwhelming, even when they’re awesome.

So I made it into Photoshop layers, so you can turn off the measuring lines you don’t need. Will share Photoshop file in first comment.

Note: you want the Sun circle to be on the sun itself, not the “atmosphere” of the Sun. It’s done correctly in the first image aboe (I did it), and incorrectly in the second image above, lol (I didn’t do it, but left it for an example)

I also translated this from French to English. Feel free to translate for your local language.

I’m sure someone won’t like that, but: English is the Universal language of science. Because, while it’s the 4th most common first language, it’s by far the most common SECOND language, so most people can understand it.
So it should either be in your local language (feel free), or in English, or in about 100 languages. lol

The test images here are NASA for the long proms and Dominique Gering for the short prom pic.