


Feeding the hamster in your brain
 It’s kind of fascinating, and this is how all tracker mounts work, even huge observatories.
You point the base north. Not magnetic north, but geographic north.
You mount it at an angle equal to your latitude. For me that’s 45.13 or as close as I can get.
Then you use the sighter scope, a cheap scope down the center of the motor, to align to the North Celestial Pole. That’s near the Northern Star (Sigma Octantis star in Southern Hemisphere, but same idea.)
Northern Star, Polaris, actually orbits that center visually from the earth.
On other mounts, the sighnter scope is on the side, and/or is a video camera hooked up to a monitor.
That star is not what you center on, it’s what it rotates around. There’s an app that replaces manly math manly men used to do.
The mount does one full rotation every sidereal day. That’s 23 hours 56 minutes 4.091 seconds.
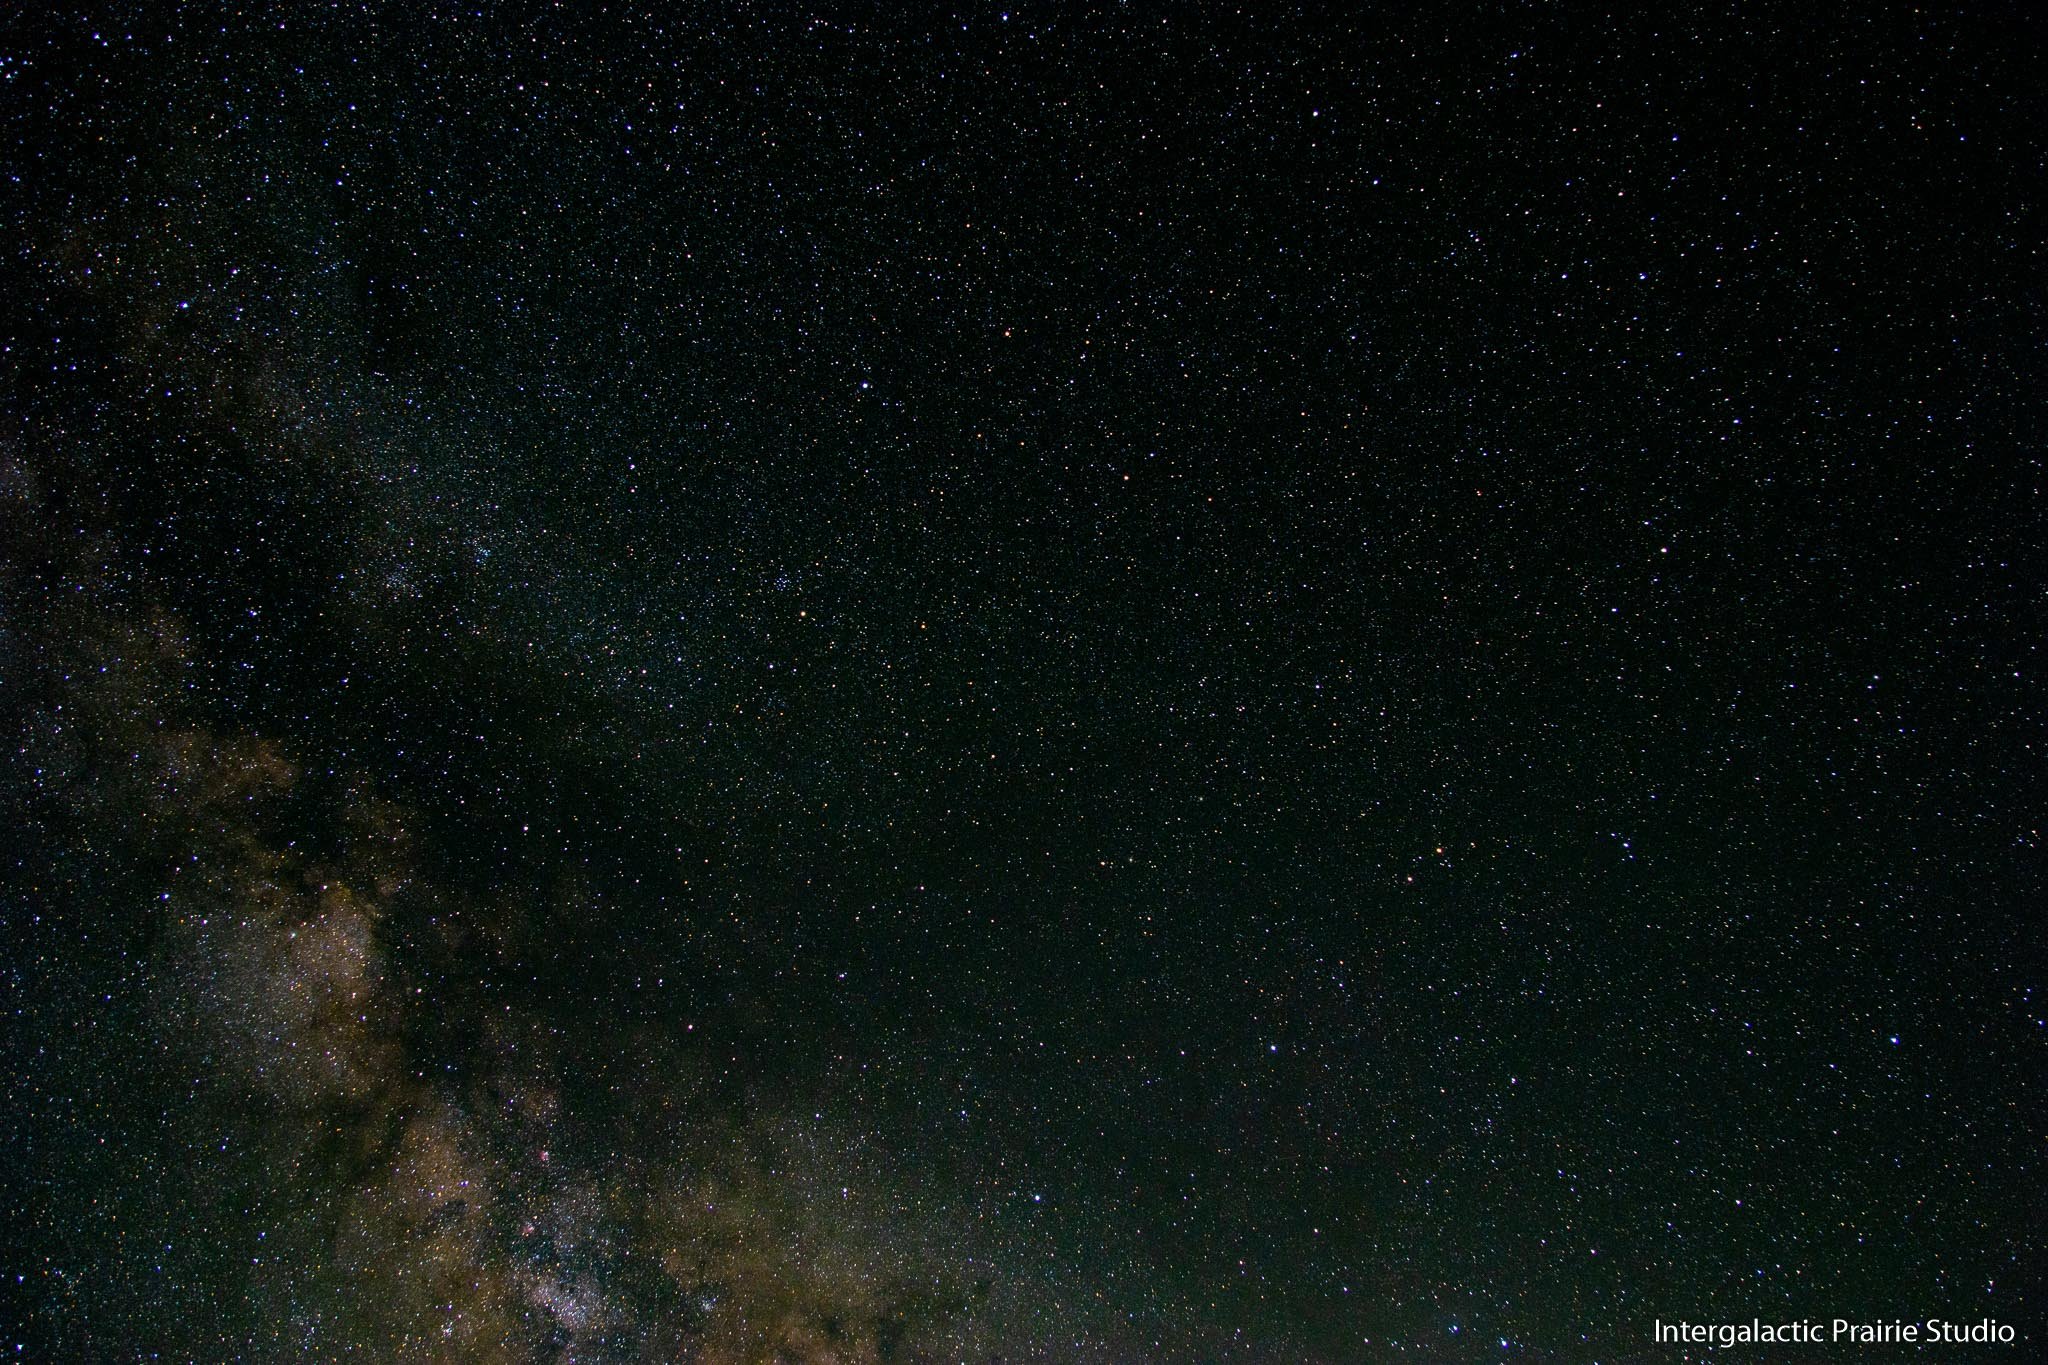
If you get it perfect, the stars will never move in your camera’s view, and you can take long exposures. Those stellar deep space photos can be many hours, or hours over several nights, plus a lot of processing.
My mount, Sky-Watcher Star Adventurer, can do a few minutes solid exposure without drift, when aligned right. Or you can do longer, stills or even video, and fix it with software.
All stunning space and deep space photos have some / a lot of post processing.
See also: How I take Star Photos

I have a new hobby. Several people have asked me how I take these. Instead of typing it over and over, here you go:
Find a dark sky. The lower the Bortle Class the better. Click on a spot on this map:
https://www.lightpollutionmap.info
I live on a farm in a rural area outside a small town, it’s a Bortle 3, so I take these photos off my front porch. But if you live in a 4 or above, you may want to drive to a 3 or lower.
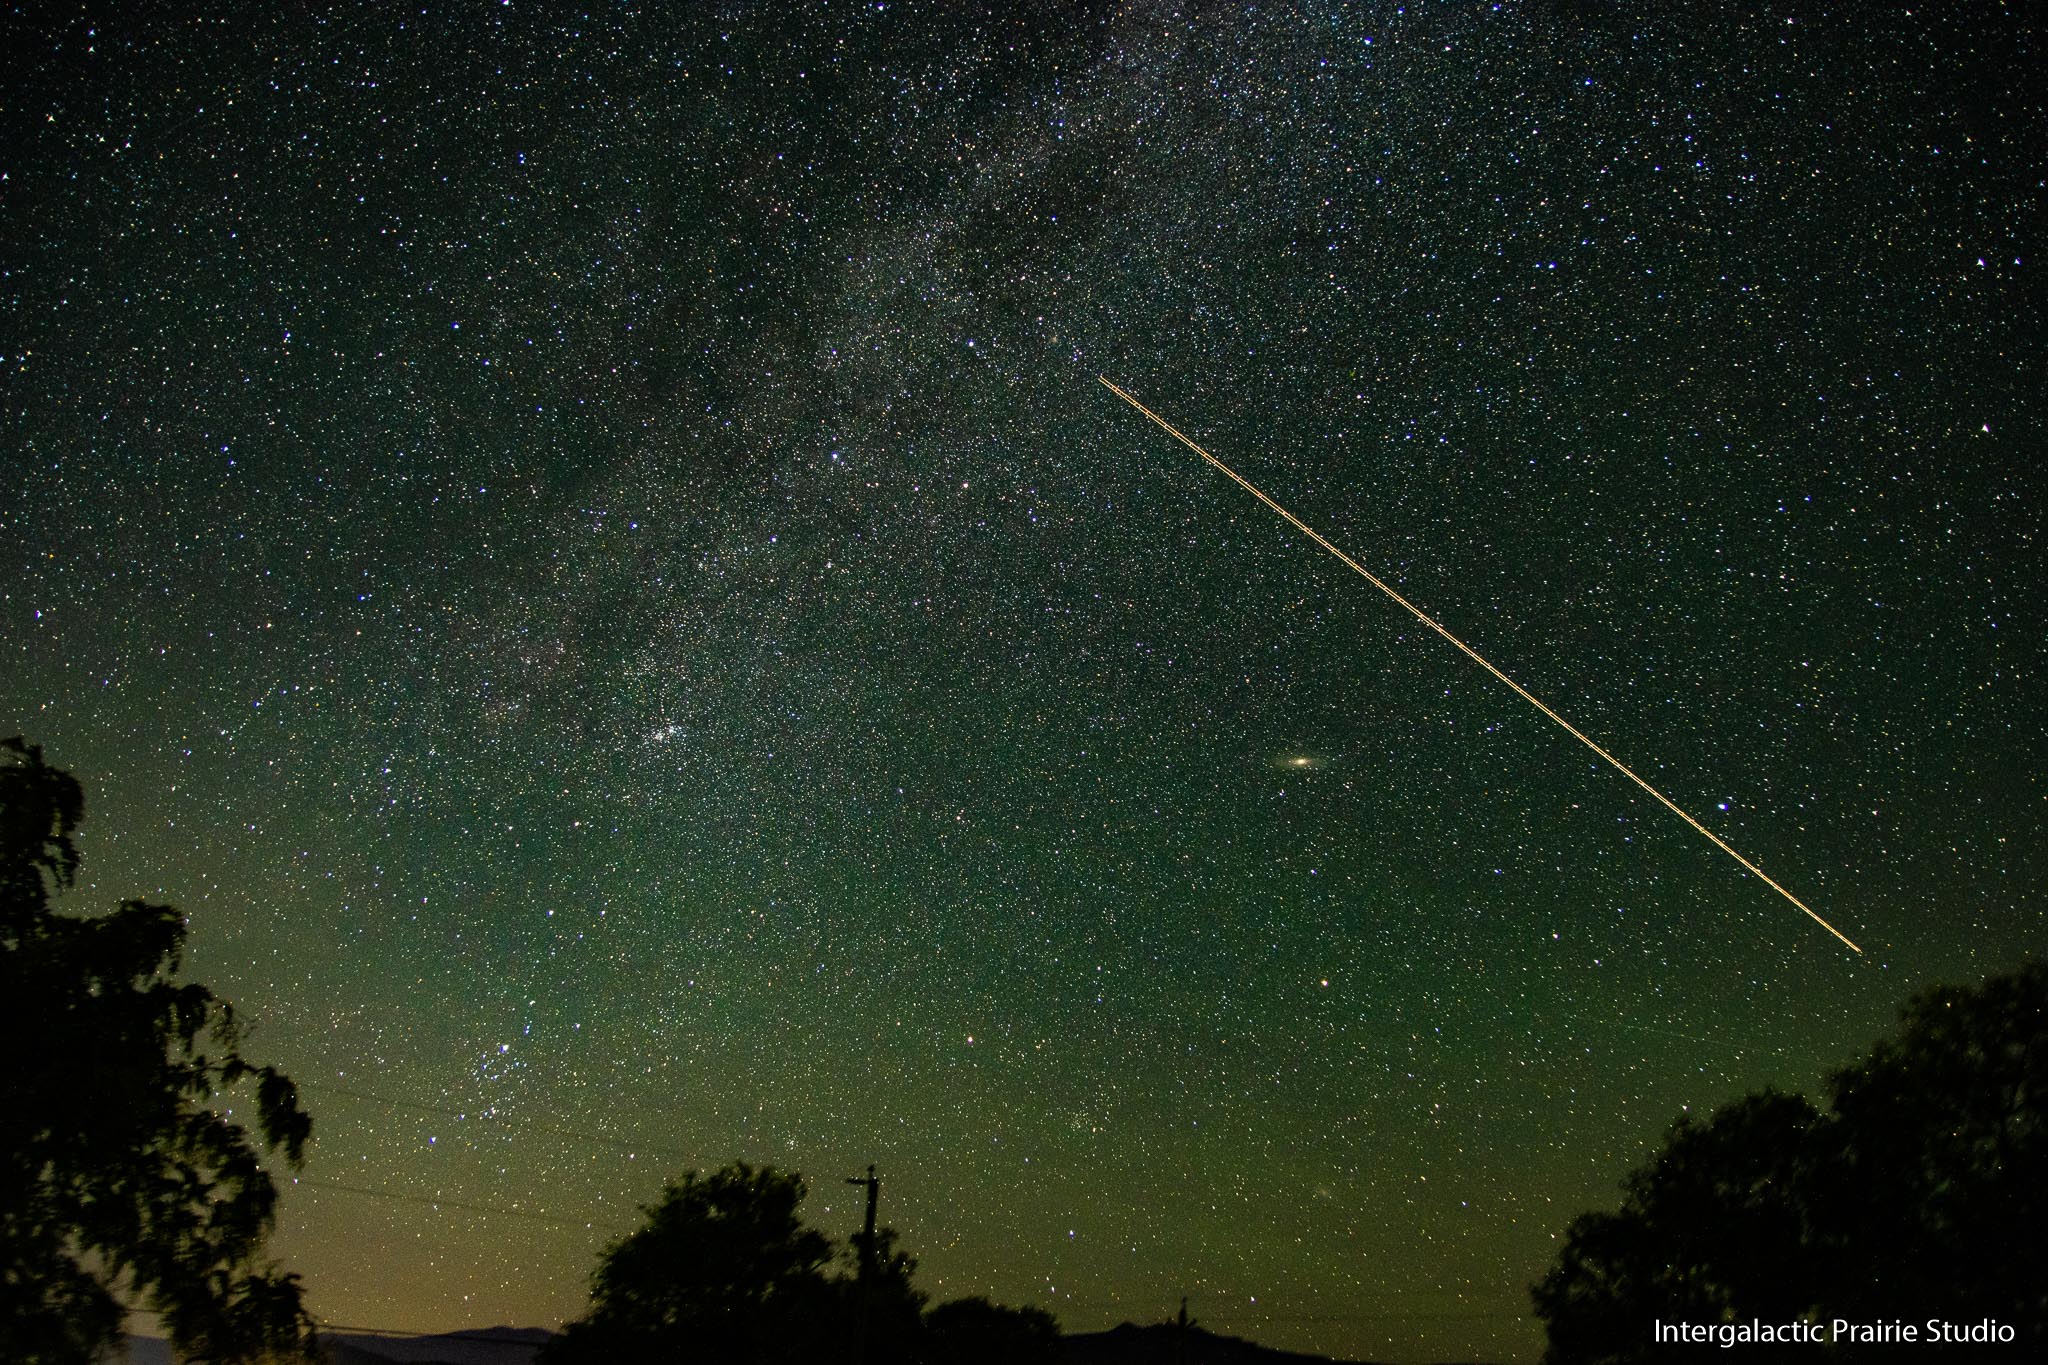
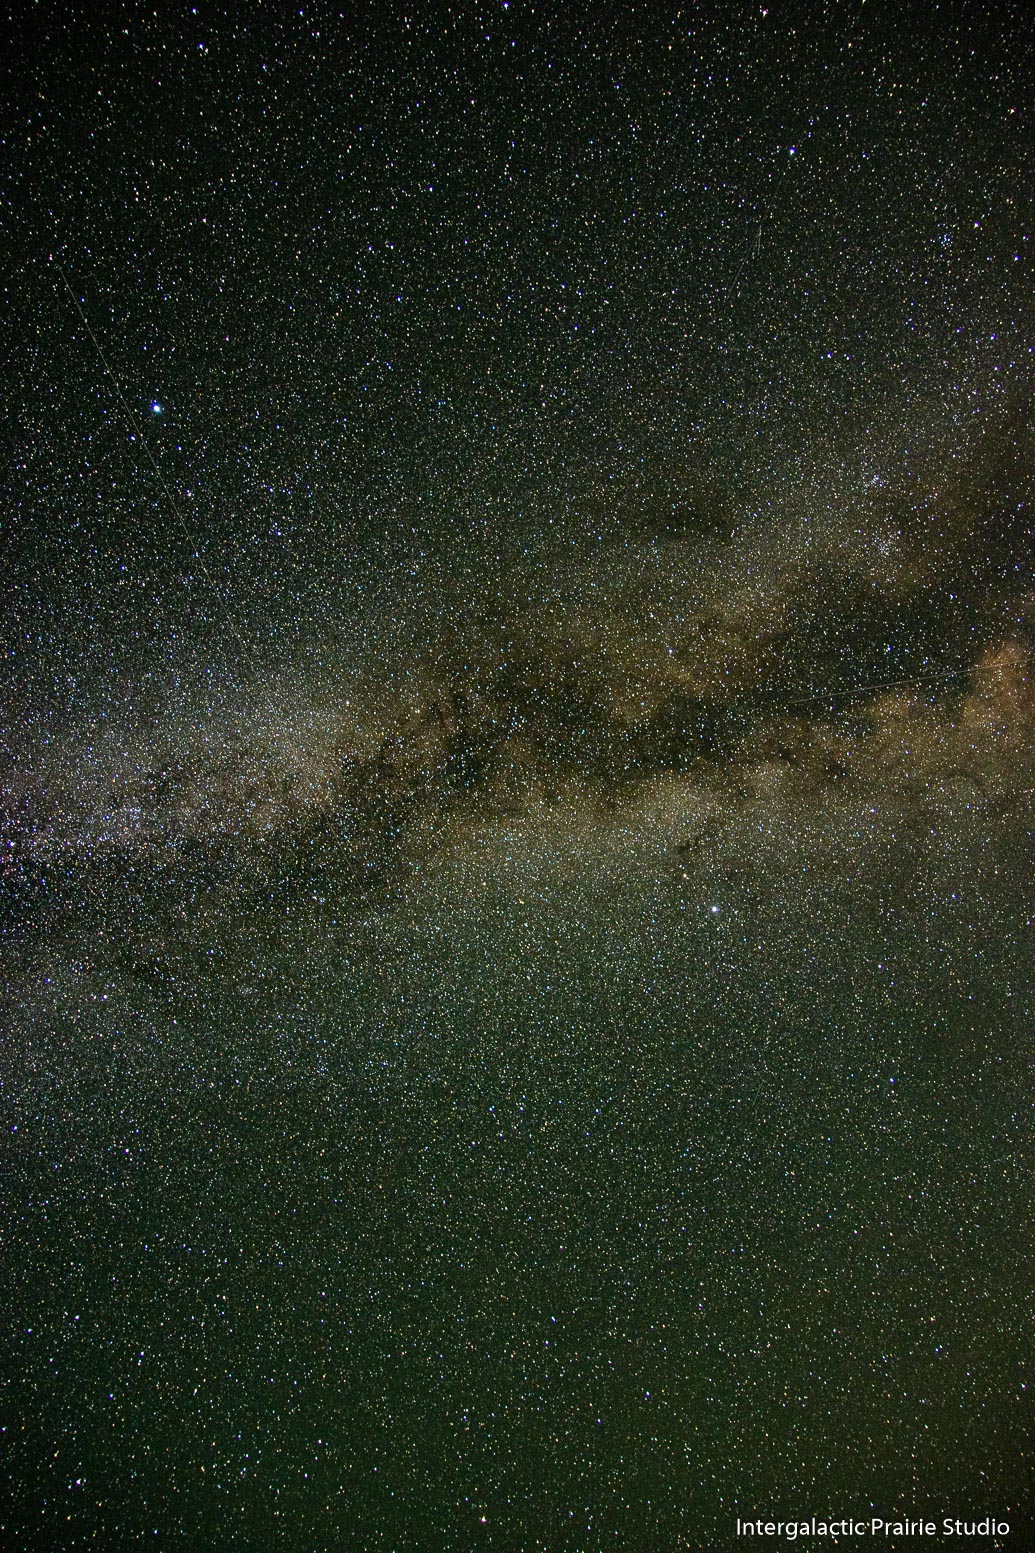
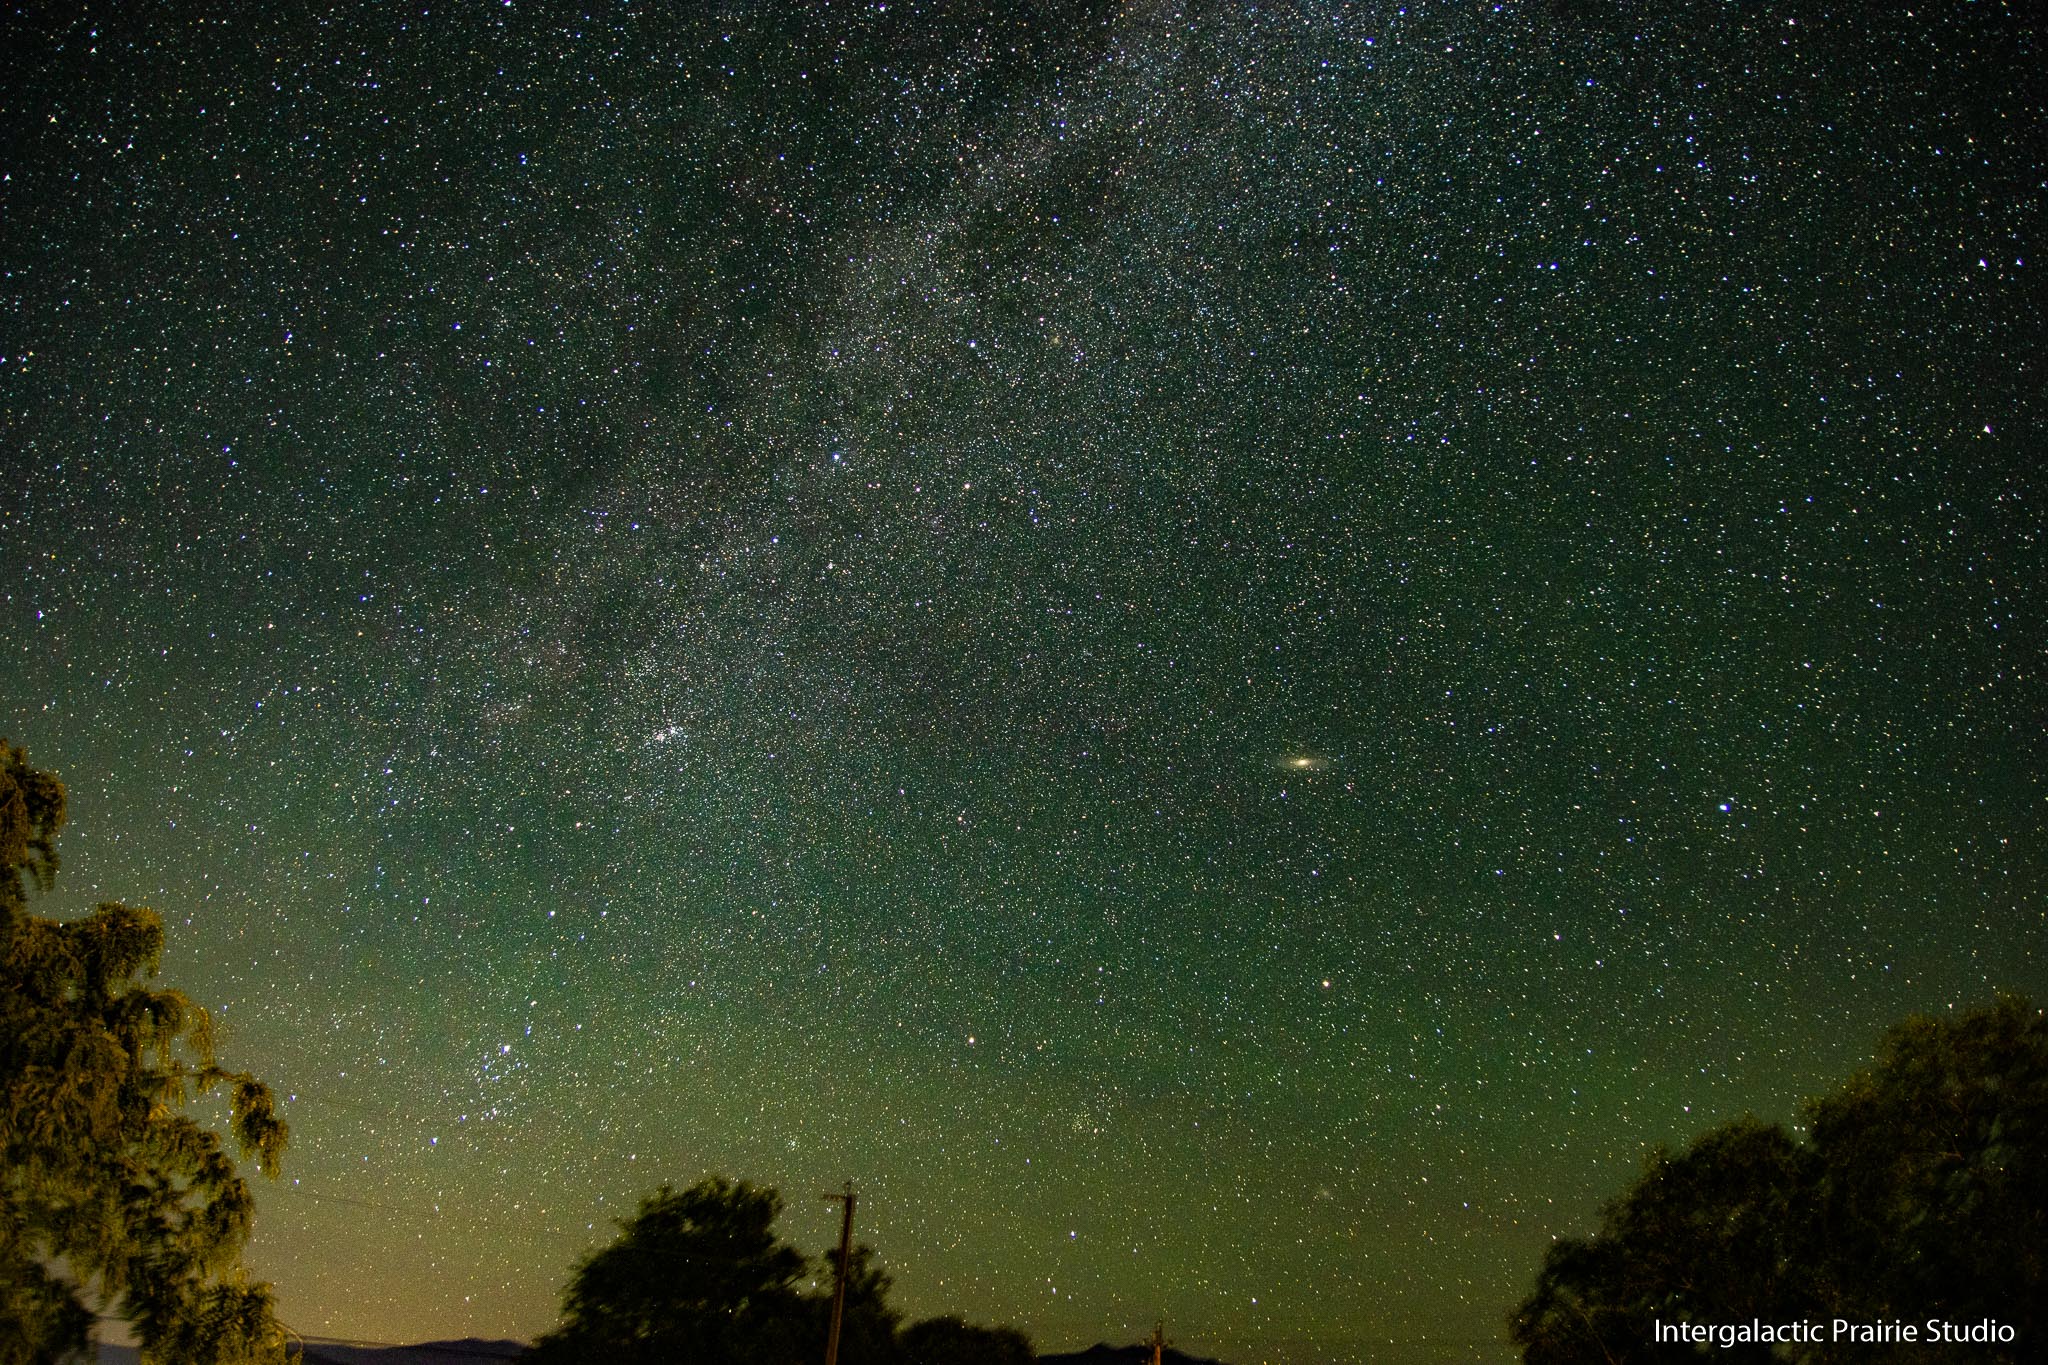
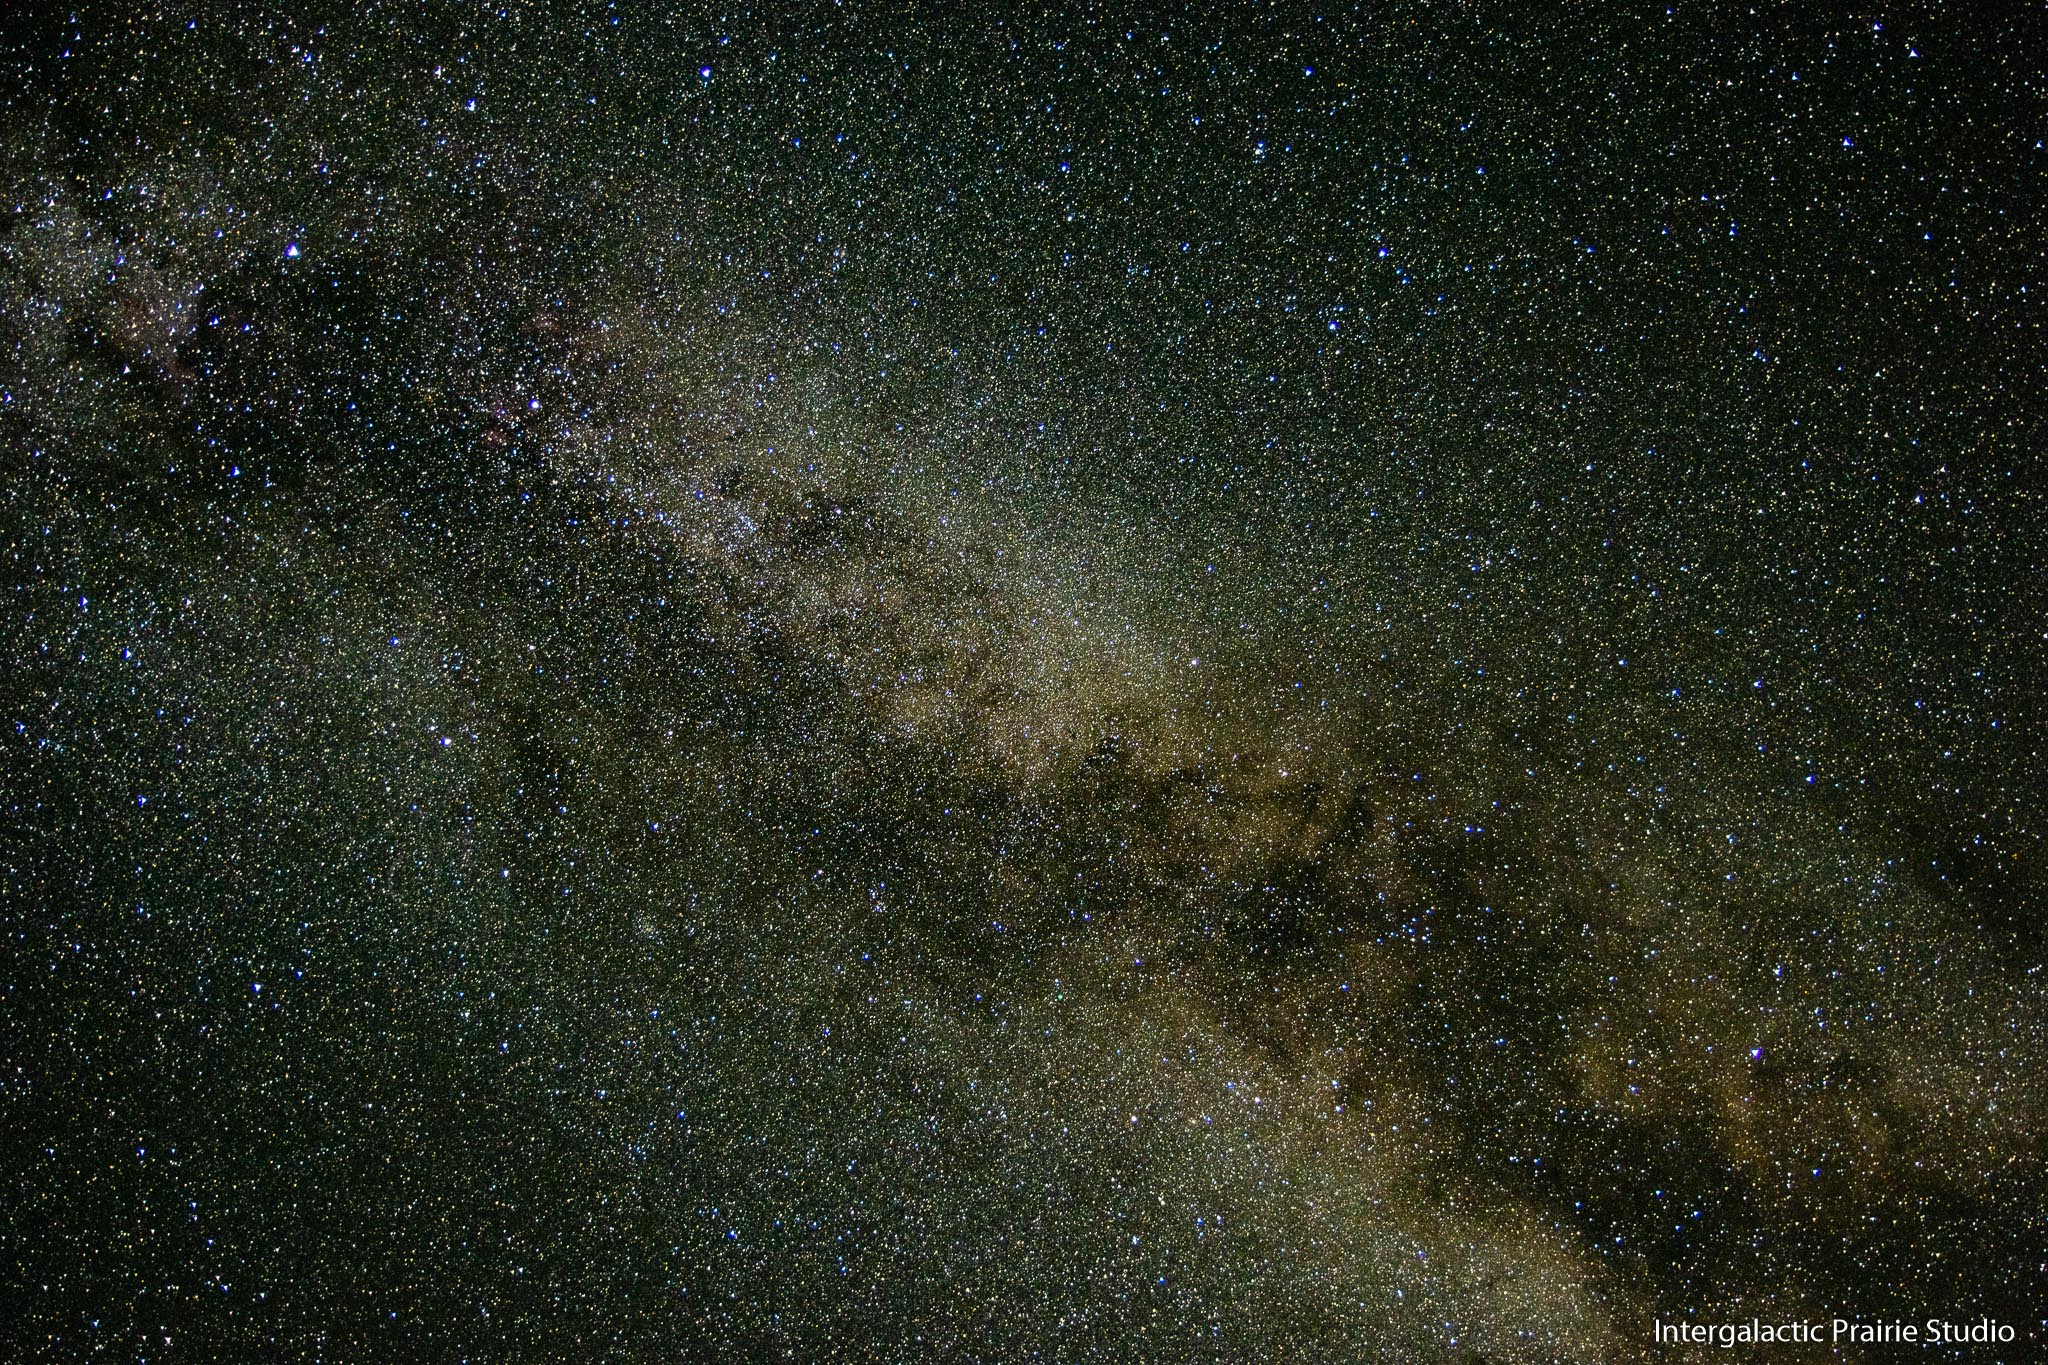
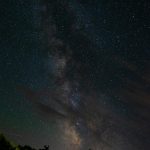
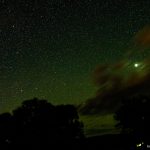
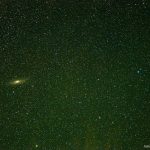
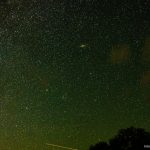
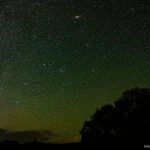
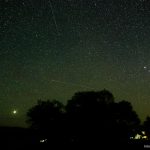
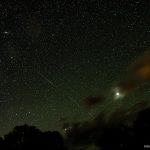
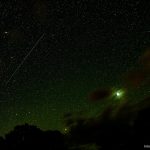
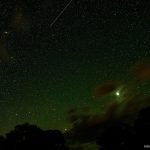
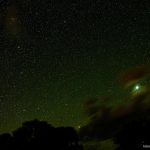
The above photos Canon 90D, Sigma 17-50 f2.8 lens at f2.8, tracker head, 78 seconds exposure, 17mm, ISO 800. Without a tracking head you’ll have a blur that won’t look nice. Because, you know, the world is turning.
The trees and buildings in these are a little blurry because the mount and camera are slowly moving. Some people take a separate photo of the ground and Photoshop it in to make everything perfect, but that’s strange to me for what I’m doing. I’m capturing reality, not making a perfect fantasy. I may do some of those in the future, but I’ll make it clear I’m doing that.